Developing Mac Homebrew with RubyMine
I’ve been working with Mac Homebrew lately, and I prefer to work in an IDE for Ruby projects. You can set up JetBrains’ RubyMine to work with Homebrew, but it can be a little tricky. Here, I’ll explain how to do it in case anyone else is interested in working that way.
These instructions are written against RubyMine 2017.3.2 and Homebrew 1.5.3, but should work for other versions as well.
First, of course, install Homebrew and RubyMine.
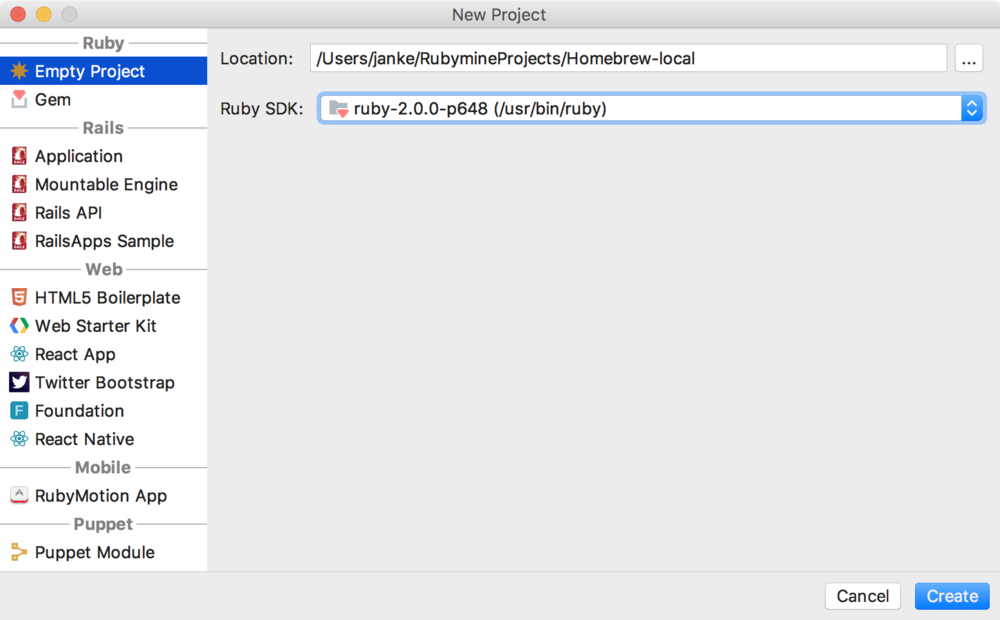
Then, open RubyMine and create a new Empty project. You can call it whatever you want and store pretty much anywhere. I call mine Homebrew-local and save it in the default ~/RubymineProjects directory.

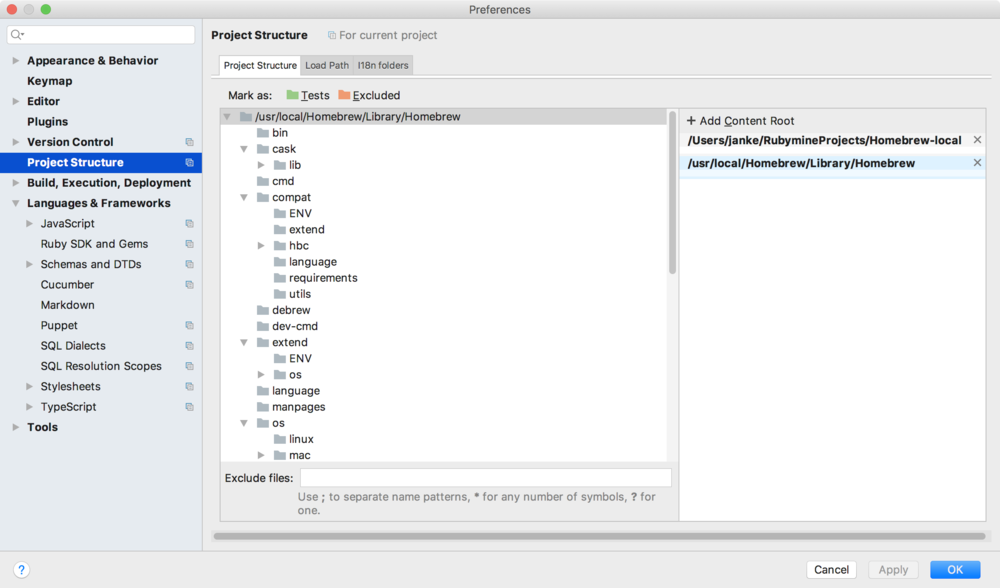
Then you need to get Homebrew’s code on to your project load path. Type ⌘-, to open Preferences, and select Project Structure from the list on the left. Click “+ Add Content Root” on the right side, and select /usr/local/Homebrew/Library/Homebrew in the file selection dialog that comes up. /usr/local is not visible in the file chooser by default, so you’ll need to hit ⌘-⇧-G and type in /usr/local/Homebrew/Library/Homebrew to get there. Click on the newly added content root in the list on the right, and you should see a whole tree of files appear.

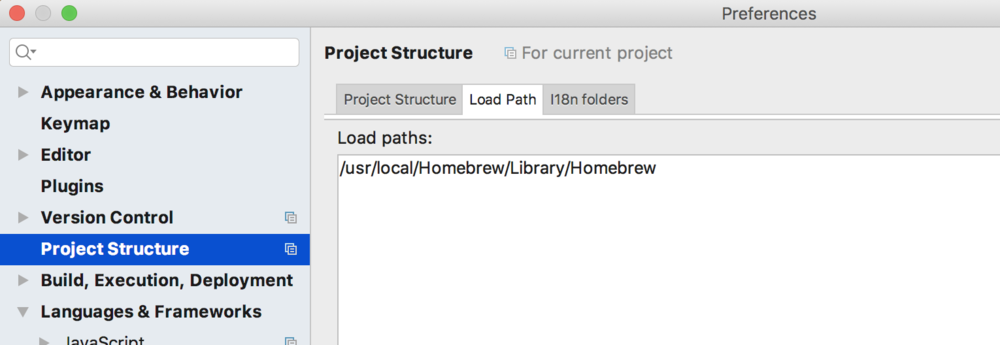
Then click on the “Load Path” tab at the top, click the “+” button at the bottom of the (empty) list, and again select /usr/local/Homebrew/Library/Homebrew in the file selector. That should take care of the paths.

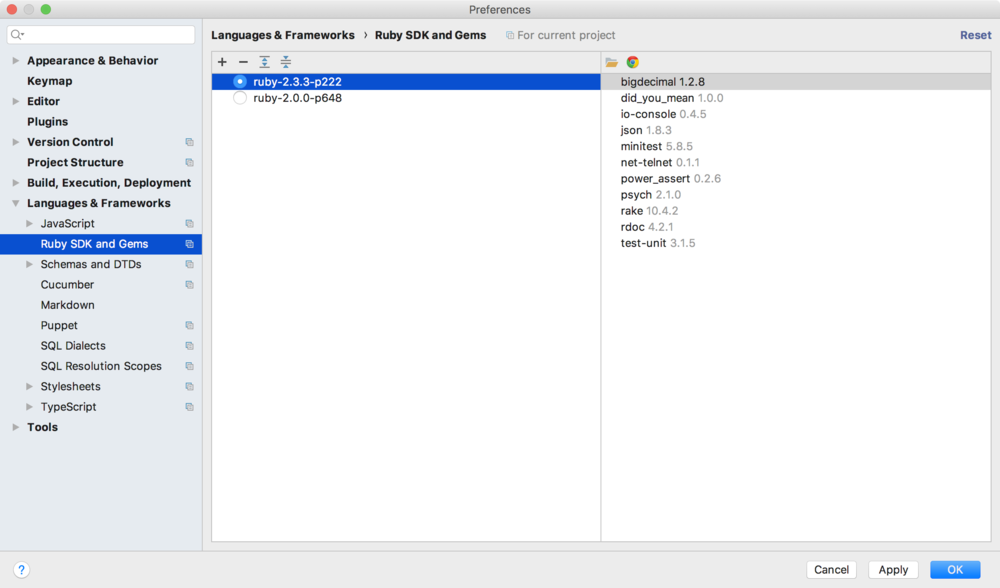
Next, you need to switch the project to use the “Portable Ruby” that Homebrew is running under, instead of the system Ruby. Click the triangle next to “Languages & Frameworks” in the list on the left, and click “Ruby SDK and Gems”. In the list in the middle, click the “+” button and choose “New local…”. Point it at /usr/local/Homebrew/Library/Homebrew/vendor/portable-ruby/<version>/bin/ruby (again, use ⌘-⇧-G if needed) and select Open. The version will be something like “2.3.3”, as of this writing. Then click the radio button next to the newly-added “ruby-2.3.X-pXXX” in the list. It should look something like this.

Note: You will need to repeat this Ruby SDK selection process each time Homebrew updates their Portable Ruby version!
That’s it. RubyMine will now be able to follow around all the references in the core Homebrew codebase.
(I also like to turn off spell checking. It’s in Preferences > Editor > Spelling, click “Configure ‘Spelling’ Inspection”, uncheck “Typo”.)
Happy hacking!